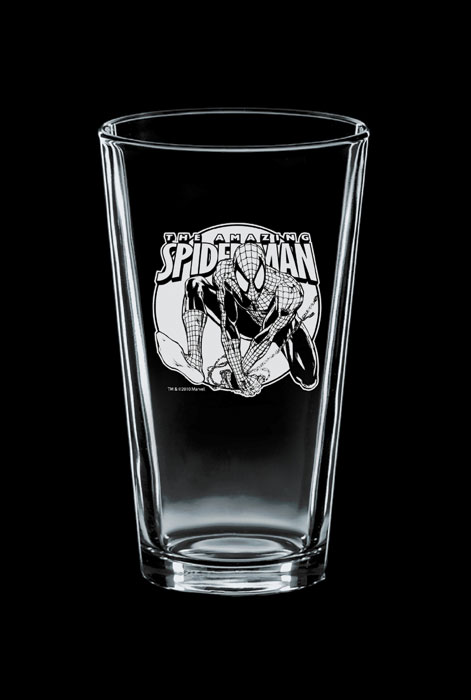
TM & © 2011 Marvel Entertainment
Pint Glass for sale at www.taverncraft.com.
The graphics for this licensed product started with a blackBlack is the fourth color in the process of four-color printing. The "K" in CMYK. Black adds tonal d... More and white inked comic drawing. Comics are illustrated and inked on paper. The inked illustration is then scanned to a high resolutionImage resolution measures the number of pixels in an image as it is displayed or printed. Pixels Per... More tiffTIFF stands for Tag Image File Format. TIFF is a file format that can contain raster and vector grap... More file. The tiff file must be converted to vectorVector is a graphic format that does not contain pixels. It is created from mathematical equations a... More art for product graphics like this.
Illustrator has some built in settingsAn application's behaviors and preferences are controlled with settings. More that make this conversion simple and easy to do. Here are the steps to create a clean vector art dawing from an inked comic tiff.
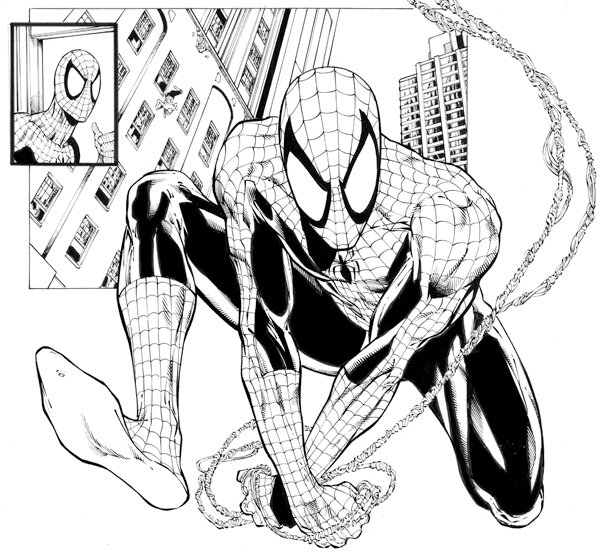
First examine the inked image in Photoshop. Erase or paint out any characters or background art that won’t be used in the final graphics.
This is the original art. TM & © 2011 Marvel Entertainment. The background illustrations were removed by painting with white in Photoshop.
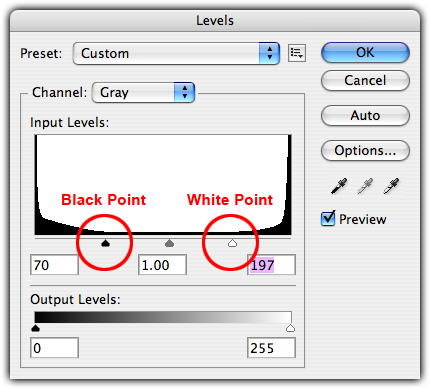
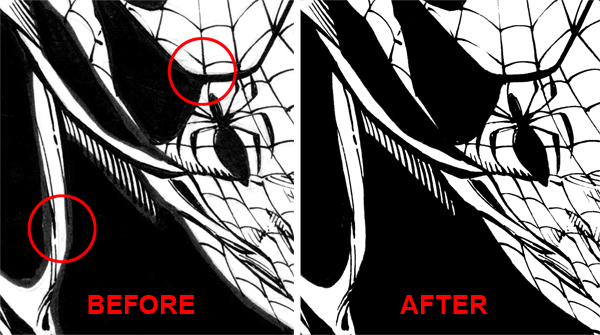
Next increase the image contrast by using levels. Move the left (black pointColor value in a image measuring 0,0,0. More) slider to the right darkening any grey pixels in the file. Move the right (white pointWhite point is the color and intensity of a device's brightest white. With printers, this is usually... More) slider to the left, removing any light highlight pixels.
The edited file should be completely white or black. Here is a close up view.
Now you are ready to work in Illustrator. Create a new Illustrator file at letter size or larger. Place the edited inked image in the new Illustrator layout. Leave the image at full size. It’s best to start with an oversized image and scale it down after it is coverted to vector.
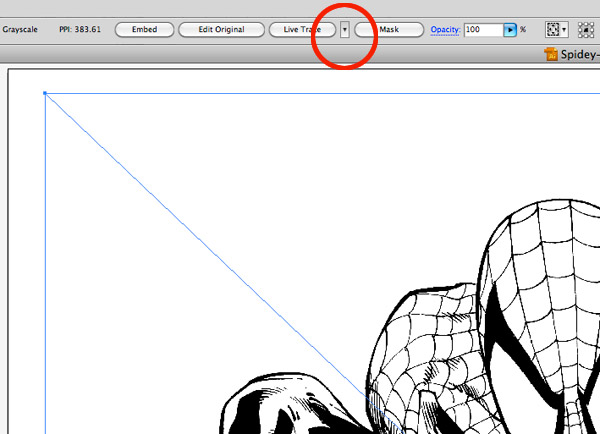
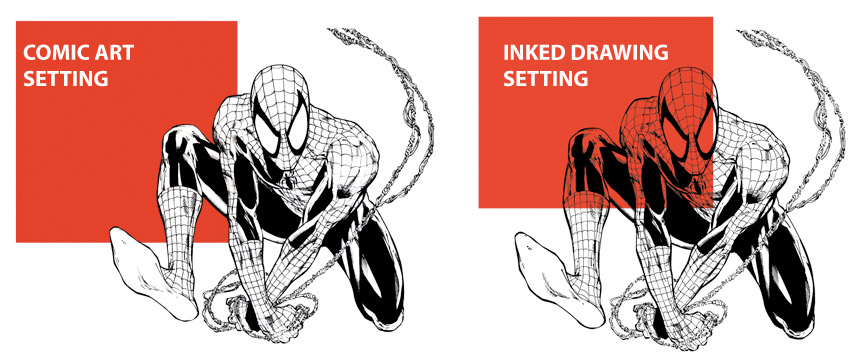
With the image selected go to “Tracing Options”. There are two good preset options, Comic Art or Inked Drawing. Surprisingly, or maybe not too surprisingly they both do an excellent job. Click “Expand” to complete the conversion.
The button between “Live Trace” and “Mask” at the top of the screen provides a menu of Live Trace options. You can also go to Object>Live Trace>Tracing Options…
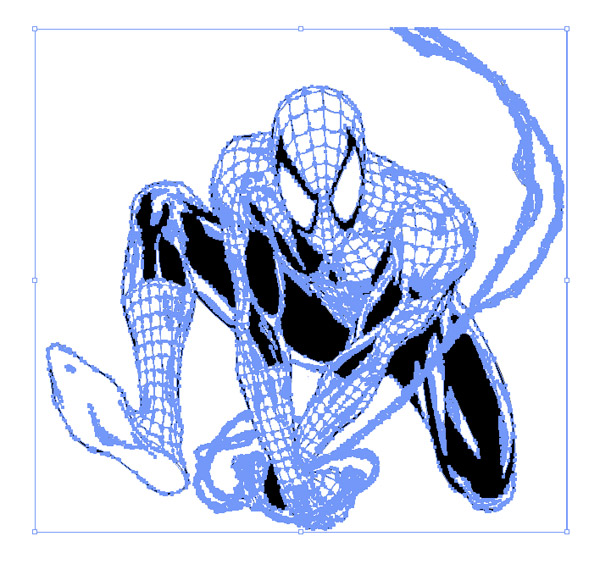
After you click “Expand” the image will display as a selected graphic, shown below.
There is one major difference between the two presets. Comic Art creates two colors, white and black. Inked Drawing creates one color, black only. With Inked Drawing all white areas are actually transparent. If the final design includes an inked character over other graphics, using the Comic Art setting may provide the best desired result. Delete the white graphic that is surrounding the character to reveal the background.
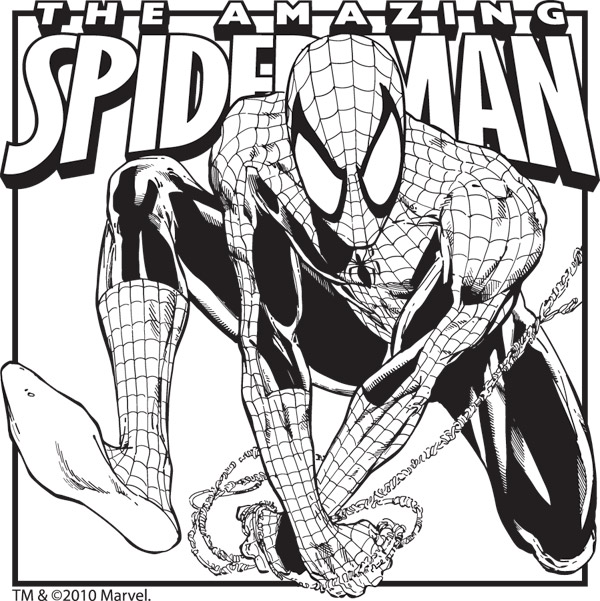
The final vector art is scaled, masked and combined with vector logos and borders for a great looking product graphic.

