
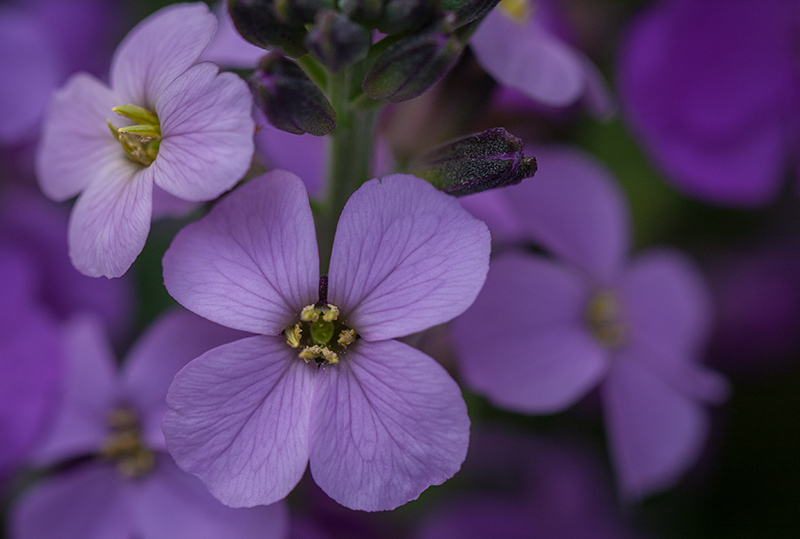
Purple Flowers Original Image
These purple flowers are pretty, but the image is flat. It needs some highlights to bring it to life. I could apply some overall contrast to the image, but I perfer to paint my highlights, giving me more selective, creative control.
This tutorial will take you through the non destructive steps to breathe life into a flat image with light painting. The screen grabs are all done in Photoshop CS6, but this technique will work in older versions of Photoshop.
Step 1: Create a levels adjustment layerAll objects have a stacking order, like a stack of paper. When the layer (paper) is opaque it covers... More by clicking on the levels icon in the “Add an adjustment” panel, or the white and blackBlack is the fourth color in the process of four-color printing. The "K" in CMYK. Black adds tonal d... More circle icon at the bottom of the “Layers” panel.

Step 2: Adjust the levels to brighten an image by moving the highlight and midtone sliders to the left.

Brighten the image beyond what might look okay. The overall image should look very bright like this.

Step 3: Select the layer maskLayer masks are used to non-destructively hide or reveal the contents of a layer. More on the levels adjustment layer. 
Invert the mask to make it black. Command “I” (PC: Control “I”) OR, Edit>Fill>Black. The black layer mask will hide the adjustment that brightened the image.

Step 4: Select the brushWhat is (Digital) Brush? A brush, found in digital painting applications such as Photoshop, Painter,... More tool and set the foreground colorThe foreground color is the top color swatch in Adobe design applications. The foreground color is t... More to white.

Step 5: Set the brush opacityOpacity is the density of a pixel. Any amount less than 100% will have some transparency. Opacity se... More to 30%. Hitting the number “3” will set the brush opacity to 30%. The “0” key will return the opacity to 100%. You can adjust the brush opacity from 0-100% as needed for the correct amount of highlight.

Step 6: Make the Brush Size fairly large and the Hardness value low.

Paint the adjustment layer mask to reveal highlights. Paint over the same area multiple times to increase the brightnessThe value of a color from white to black. More. If an area goes too bright, paint back over it with a black brush. Switch from a white to a black brush by hitting the “x” key.
The painting technique works best with a pressure sensitive tablet like an Intuous made by Wacom. I painted the highlights on this image using an Intuous 4 tablet.

Highlight details painted in the petals to create a sculpted look.
Step 7: You can light paint shadows the same way. Add a second Levels Adjustment Layer and move the shadow and midtone sliders to the right to darken the image. Invert the layer mask and paint the shadows in with a white brush.
My final adjustment layers look like this. I like to rename my adjustment layers so I can tell at a quick glance what each of them is doing.

Final Light Painted Flowers